domingo, 10 de dezembro de 2017

NOEL GOURMAND


Este tutorial pertence a Tine. Original aqui
A tradução tem a permissão da autora - Obrigada Tine


PLUGINS - aqui


Tubes:
CAL - aqui
Tatie - aqui


PALETA DE CORES:

*Abra a mask no PSP
*Salve as seleções na sua pasta de seleções do PSP
*Abra a paleta de cores no PSP e capture as cores com a dropper tool
*Ajuste o blend mode e a opacidade das layers de acordo com suas imagens

*Se você tiver alguma dificuldade na execução desse tutorial, entre em contato comigo: E-mail
*Ao fazer um dos tutoriais do meu blog, eu agradeceria muito se você colocasse um link para o tutorial.
*Envie para mim sua versão e eu terei o maior prazer em colocar na minha galeria
*Antes de você compartilhar este tutorial, leia os termos da autora


ROTEIRO:

(Clique nas imagens para visualizar melhor a configuração)
0. Coloque a cor 1 no foreground e a cor 2 no background (abra a paleta de cores no PSP e capture as cores). Prepare um gradiente:

1. Abra uma nova imagem com 900x550px
2. Pinte a imagem com o gradiente
3. Plugin Mehdi - Seamless Border 2

4. Plugin Mehdi - Edges FX- Em colorize, coloque a cor 3

5. Adjust - Sharpness - sharpen more
6. Layers - Duplicate
7. Plugin Mehdi - Sorting Tiles

8. Adjust - Sharpness - Sharpen
9. Plugin Mehdi - Weaver

10. Effects - Edge Effects - Enhance
11. Layers - Palette - Blend Mode Soft Light
12. Layers Palette - Ative a Raster 1
13. Adicione uma nova layer
14. Materials Palette - Coloque a cor 1 no foreground
15. Preencha a layer com a cor 1
16. Layers - New Mask Layer - From Image - creation.tine_masque229

17. Layers - Merge - Merge Group
18. Layers Palette - Blend Mode Multiply
19. Layers Palette - Ative a layer abaixo - Raster 1
20. Selections - Load selection from disk - Selection Noel Gourmand 1

21. Selections - Promote selection to layer
22. Plugin Carolaine and Sensibility - CS-HLines

23. Adjust - Sharpness - High-Pass Sharpen

24. Select None
25. Effects - Image Effects - Seamless Tiling - Default
26. Edit - Copy Special - Copy Merged
27. Image - Add borders - Symmetric marcado
1px - cor 1
2px - branco
1px - cor 1
28. Selections - Select all
29. Image Add borders - symmetric desmarcado - cor branco

30. Selections - invert
31. Cole na seleção
32. Effects - Reflection Effects - Kaleidoscope

33. Selections - invert
34. Drop Shadow: 0/0/100/65 - cor 2
35. Select None
36. Image - add borders - 1px - cor 1 - symmetric marcado
37. Selections - Load selection from disk - selection Noel Gourmand 2

38. Plugin Carolaine and Sensibility - CS - DLines

39. Selections - Promote selection to layer
40. Effects - 3D Effects - Inner Bevel

41. Drop Shadow: 0/0/50/25 - cor 1
42. Select none
43. Abra o arquivo CAL-064-122815 redimensionné
44. Copie e cole como nova layer
45. Ative a Pick Tool (Pressione a letra K) - Configure:
Position Horizontal(X): 70  Position Vertical(Y): 0

46. Drop Shadow: 2/15/50/25 - preto
47. Abra o arquivo tubtatie-242146_ce4 redimensionné
48. Copie e cole como nova layer
49. Remova a assinatura
50. Ative a Pick Tool - configure: Positions: (X): 669   (Y): 295
51. Drop Shadow: 2/15/50/25 - preto
52. Abra os dois textos
53. Copie e cole como nova layer
54. Eles estão com a cor branca. Caso queira a cor preta, vá em Image - negative Image.
55. Posicione onde preferir
56. Layers palette - ative a layer superior - Layers - Merge - Merge down
57. Drop Shadow: 1/-1/65/22 - preto
58. Layers - Merge - Merge All(Flatten)
59. Adicione uma nova layer e coloque sua assinatura
60. File - Export - JPEG Optimizer


Espero que tenham gostado.
Obrigada por fazerem minhas traduções.


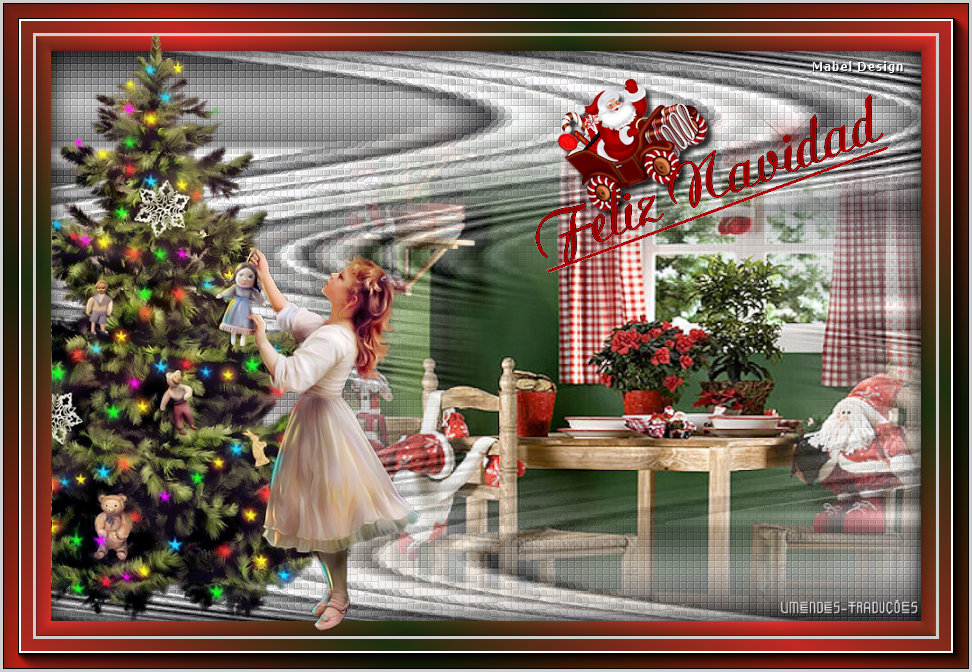
ADORNO MI NAVIDAD


Este tutorial pertence a Mabel Design. Original aqui
A tradução tem a permissão da autora. Obrigada Mabel


PLUGINS - aqui


Tubes:
Mabel
Nikita - aqui


PALETA DE CORES


*Abra a paleta de cores no PSP e capture as cores com a dropper tool
*Ajuste o blend mode e a opacidade das layers de acordo com suas imagens


*Se você tiver alguma dificuldade na execução desse tutorial, entre em contato comigo: E-mail
*Ao fazer um dos tutoriais do meu blog, eu agradeceria muito se você colocasse um link para o tutorial.
*Envie para mim sua versão e eu terei o maior prazer em colocar na minha galeria
*Antes de você compartilhar este tutorial, leia os termos da autora
*Ajude-me a melhorar a qualidade das minhas traduções e do meu blog: se você encontrar algum erro nos links, nas traduções, no blog, por favor me avise pelo e-mail acima. Grata.


ROTEIRO:
1. Abra uma nova imagem com 800x600px
2. Materials Palette - Foreground #c12823   Background#1c3010
3. Materials Palette - prepare um gradiente Linear:


4. Materials Palette - Selecione o gradiente Silver(1) salvo no início - Preencha a imagem com ele.
5. Plugin VanDerLee - Unplugged_X - Wavemaker

6. Plugin Xero - Frittilary

7. Adicione uma nova layer - Selections - Select all
8. Abra o arquivo Misted_mabel_navidad2017
9. Copiar e colar na seleção
10. Select none
11. Posicione conforme o modelo
12. Adicione uma nova layer
13. Preencha com o gradiente
14. Selections - Select all
15. Selections - Modify - Contract: 15
16. Pressione a tecla Delete
17. Selections - invert
18. Effects - 3D Effects - Inner Bevel

19. Selections  - invert
20. Effects - 3D Effects - Cutout

21. Select none
22. Abra o arquivo 13508436262_noel-nikita
23. Copie e cole como nova layer
24. Image - resize 80% - all layers desmarcado
25. Posicione conforme o modelo
26. Adjust - Sharpness - sharpen
27. Abra o arquivo Adorno
28. Copie e cole como nova layer
29.Posicione conforme o modelo
30. Layers - merge - merge visible
31. Image - add borders - 3px - cor #cfcfcf
32. Image - add borders - 30px - cor #FFFFFF
33. Selecione esta borda de 30px com a Magic Wand
34. Pinte com o gradiente
35. Plugin AAA Frame - Foto Frame

36. Select none
37. Image - add borders - 3px - cor #cfcfcf
38. Adicione uma nova layer
39. Coloque sua assinatura
40. Merge all(flatten)
42. File - Export - JPEG Optimizer

Espero que tenham gostado.
Obrigada por fazerem minhas traduções.

Bea


sábado, 9 de dezembro de 2017

LLEGA LA NAVIDAD - in english


This tutorial belongs to Bea. Original  here
Translation have the permission of the author. Thanks Bea


PLUGINS -  here


tubes:
Bea


COLOR PALETTE:

* Open the color palette in PSP and capture the colors with the dropper tool
* Set the blend mode and opacity of layers according to your pictures


* If you have any difficulty in the execution of this tutorial, please contact me:  E-mail
* When one of the tutorials on my blog, I would greatly appreciate it if you put a link to the tutorial.
* Send me your version and I'll be happy to put in my gallery
* Before you share this tutorial, please read the terms of author
* Help me to improve the quality of my translations and my blog: if you find any error in links, in translation, blog, please let me know by e-mail above. Thankful.


SCRIPT:


1. Open an image with 900x600px

2. Activate the Selection tool - custom selection


3. Fill the selection with color # 1b3b5d

4. Add a new layer

5. Fill with color # a7e2e8

6. Add a new layer
7. Fill with color # 92b1c3
8. Select none
9. Layers palette - activate Raster 1
10. Effects - image effects - offset


11. Layers palette - activate Raster 2

12. Effects - image effects - offset


13. Layers - merge - merge visible


14. Effects - user Definef Filter - Emboss 8

15. Effects - distortion Effects - warp


16. Image - Mirror

17. Effects -image effects - offset


18. With the Magic Wand select the left part, transparent


19. Selections - Modify - Expand 3px

20. Add a new layer

21. Fill the layer with linear gradient formed with the colors # 1b3b5d and #92b1c3


22. Select none

23. Layers - Arrange - Move down

24. Plugin DSB Flux - Bright Noise


25. Layers palette - remains in the same layer

26. With the Magic Wand select the transparent part

27. Fill in the Sunburst gradient using the same colors that are in the materials palette:


28. Adjust - blur - Gaussian Blur: 10

29. Select none

30. Open the file navidade227_beas_misted

31. Copy and paste as new layer
32. Position depending on model
33. Layers palette: activate the top layer (merged)
34. Drop Shadow: 0/0/100/30 - Black
35. Layers - merge - merge visible
36. Layers Palette - click on the eye to close the layer
37. Add a new layer
38. Fill with the gradient of item 21


39. Effects - Geometric Effects - circle


40. Image - Resize 25% - all layers unchecked

41. Plugin Eye Candy 5: Impact - Glass - Default. Change the color to one used in his work:


PREPARE BALLS:
(At this point, I suggest you to duplicate the image (Shift + D) and minimize for later use. Do this 3 times, as it will prepare four balls.)


42. Add a new layer

43. Turn on the Air Brush tool - Select one of four brushes that you saved (or tip_nik_cdesign178 179) - put in Size, the size you see fit. I used 140.
44. Apply with Air Brush in your image using the silver pattern (you can use another pattern or texture, or gradient, or only one color, is up to you)
45. Open the file deco-navidad
46. ​​Copy and paste as a new layer (the file has two options: A golden and one silver Choose according to what is going to use the pattern of balls Click the layer and copy)
47. Image - Resize according to the size of the sphere, to be proportional - all layers unchecked
48. Layers palette - Activate the top layer
49. Layers - merge - merge down (joined stream to the sphere)
50. Maximize one of the duplicate images that has been minimized and do likewise, item 42 to 49. Do the same thing in the other two.
51. After preparing these three other spheres, each copy and paste the first image by placing the beads as the model.
52. Layers - merge - merge visible
53. Plugin Eye Candy 5: Impact - Perspective Shadow
Setting: Select Floating, Low
Basic: as print. Place the color # 1b3b5d


54. Layers palette - Click on the eye of the bottom layer to open the Layer
55. Image - Add borders - symmetric marked

2px - Color # 193c5c

7px - Color # d7e1ea

1px - Color # 193c5c
25px - Color # d7e1ea
1px - Color # 193c5c
56. Add a new layer - put your signature
57. Export the JPEG Optimizer.


I hope you enjoyed.
Thank you for making my translations.


More:

Nena Silva