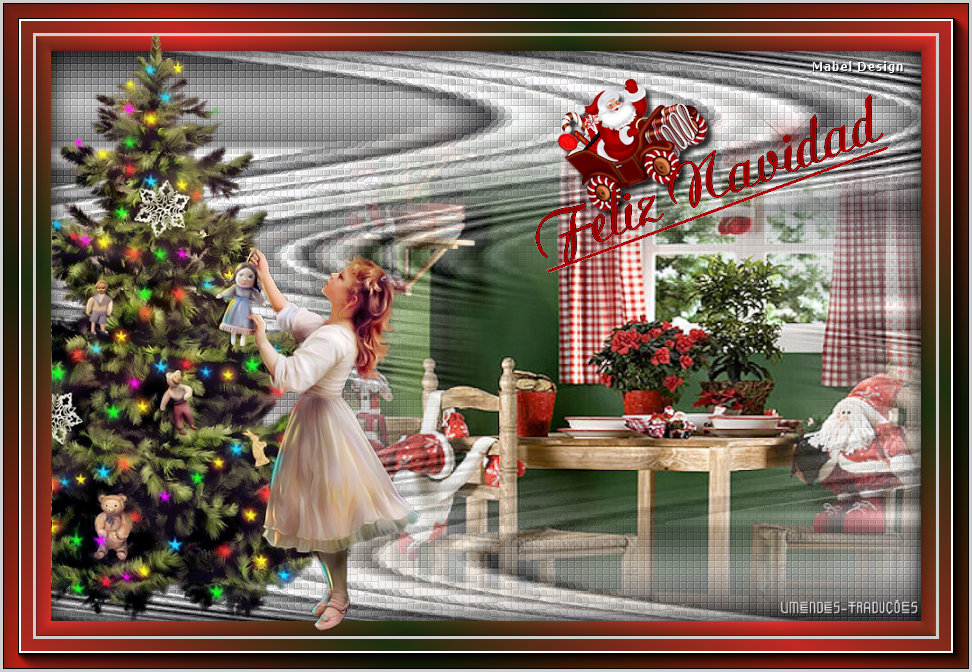
This tutorial belongs to Mabel design. Original here
The translation was made with your permission. Thank you Mabel
The translation was made with your permission. Thank you Mabel
PLUGINS - here
Tube:
Mabel
Nikita - here
COLOR PALETTE

* Open the color palette on the PSP and capture the colors with the dropper tool
* Adjust blend mode and layer opacity according to your images
* Adjust blend mode and layer opacity according to your images
* If you have any difficulties performing this tutorial, please contact me: E-mail
* When doing one of the tutorials of my blog, I would appreciate it if you put a link to the tutorial.
* Send me your version and I will be happy to put it in my gallery
* Before you share this tutorial, read the author's terms
* Help me improve the quality of my translations and my blog: if you find any errors in the links, in the translations, in the blog, please let me know by the email above. Thankful.
* When doing one of the tutorials of my blog, I would appreciate it if you put a link to the tutorial.
* Send me your version and I will be happy to put it in my gallery
* Before you share this tutorial, read the author's terms
* Help me improve the quality of my translations and my blog: if you find any errors in the links, in the translations, in the blog, please let me know by the email above. Thankful.
SCRIPT:
1. Open a new image with 800x600px
2. Material Palette - Foreground #c12823 Background#1c3010
3. Materials Palette - Prepare a Linear gradiente

4. Materials Palette - Select the Silver gradient (1) saved at the beginning. Fill in the image with the gradiente
5. Plugin VanDerLee - unplugged-X - Wavemaker


6. Plugin Xero - Frittilary
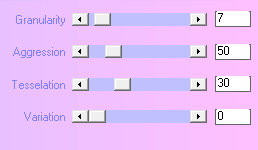
7. Layers - new raster layer - Selections - Select all
8. Open the file misted-mabel-navidad2017
9. Edit/Copy and Paste into selection
10. Select none
11. Position according to model
12. Layers - new raster layer
13. Fill with the gradiente
14. Selections - Select all
15. Selections - Modify - contract: 15px
16. Press the Delete key on your computer
17. Selections - Invert
18. Effects - 3D effects - Inner Bevel

19. Selections - invert
20. Effects - 3D effects - cutout

21. Select none
22. Open the file 13508436262-noel-nikita
23. Edit/Copy - Paste as new layer
24. Image - resize 80% - Resize all layers unchecked
25. Position according to model
26. Adjust - Sharpness - sharpen
27. Open the file Adorno
28. Edit/Copy - Paste as new layer
29. Position according to model
30. Layers - merge - merge visible
31. image - add borders - 3px - color #cfcfcf
32. Image - add borders - 30px - color #ffffff
33. Select this 30px border with Magic Wand
34. Fill with the gradiente
35. Plugin AAA Frame - Foto Frame

36. Select none
37. Image -add borders - 3px - color #cfcfcf
38. Layers - new raster layer
39. Place your signature
40. Merge all (flatten)
41. File - Export - JPEG Optimizer
I hope you enjoyed.
Thank you for doing my translations
Thank you for doing my translations
Bea