Mostrando postagens com marcador Elegancia. Mostrar todas as postagens

quarta-feira, 15 de janeiro de 2020

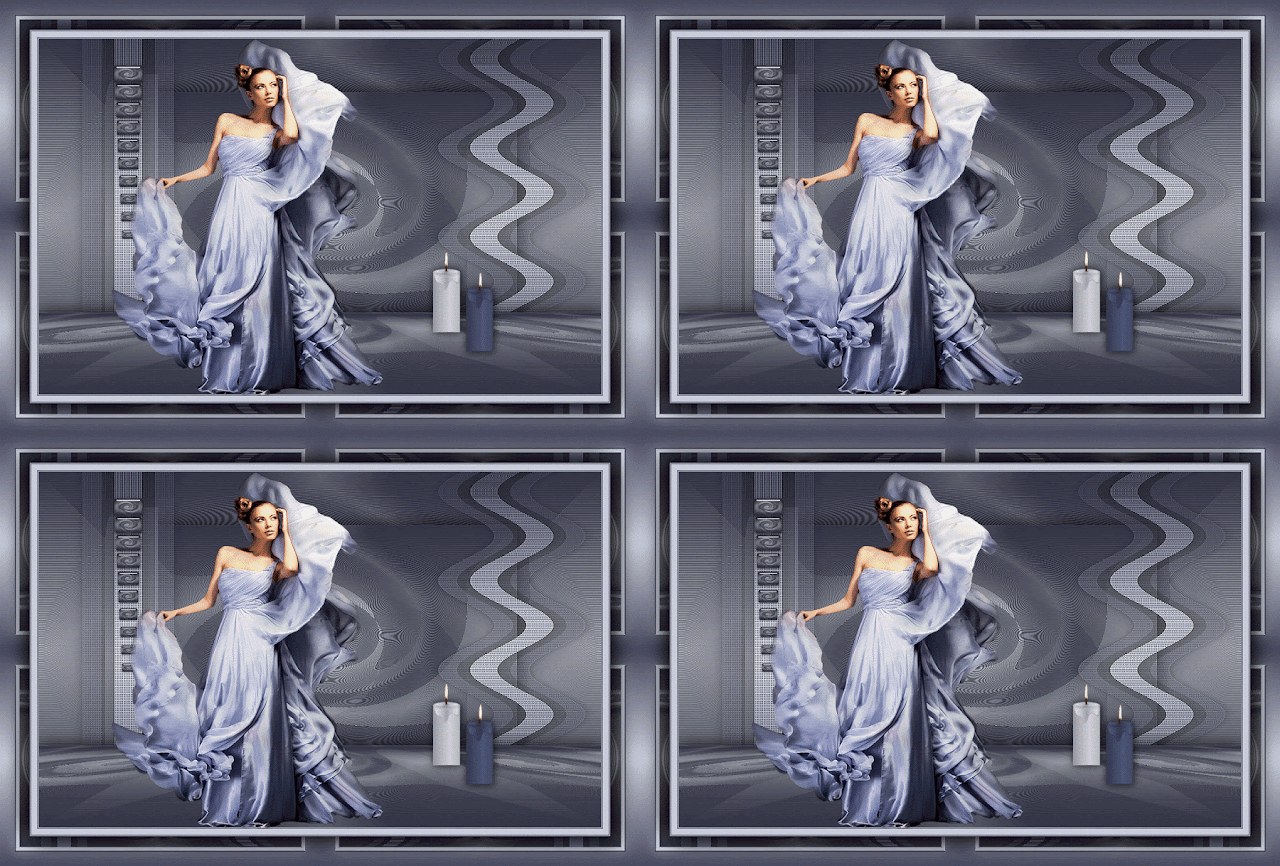
Edith Spigai - Elegancia

 Edith's original version

My version with Kads's tube


This tutorial is by Edith Spigai and was translated with your permission.

Original HERE


****

Credits:
Edith

Tubes not provided. You'll need:
1 tube character
1 tube misted landscape
other decos you prefer

****

Material - HERE


If any material does not open, contact me

****

Plugins:
VM Toobox / Trimosaic
Mura's Meister / Perspective Tiling
AAA Frame w / Photo Frame

Plugins - HERE


****


Orientations:

Click on the prints for a better view.
Remember to save work as it runs
Change Blend Mode, Opacity, and Drop Shadow to Your Images
Pick Tool replaces Deform tool from older versions of PSP

If your PSP is an older version, use material labeled "PSP ANTIGO"

***

My E-Mail: HERE

Send us your versions or let me know if you have any problems
with the tutorial or material

***

Versions: HERE

***

Groups:


********


SCRIPT


01. Save the selections below to the PSP Selections folder
_ selection a and b

02. Colors used in the tutorial:


03. Put color 1 in the foreground and color 2 in the background

04. Prepare a Linear Gradient:


05. Open a new transparent image with 900x500px

05.1 Paint the image with this gradient

06. Effects / Plugins / VM Toolbox / Trimosaic


07. Effects / Edge Effects / Enhance

08. Selections / Load selection rom disk / Selection (a)


09. Effects / Texture Effects / Weave (color 1 and 2)


10. Adjust / Sharpness / Sharpen

11. Selections / invert

12. Drop Shadow: 5 5 50 60 black

13. Select None

14. Layers / Duplicate

15. Effects / Plugins / Mura's Meister / Perspective Tiling


16. Effects / Edge Effects / Enhance

17. Drop Shadow: 0 0 60 60 black

18. Visible Merge

19. Effects / Plugins / AAA Frames / Photo Frame


20. Selections / Load selection from disk / Selection (b)


21. Adjust / Blur / Gaussian Blur: 30


22. Drop Shadow: 5 5 50 60 Black

23. Select None

24. Open the tube (Deco loop)

25. Copy and paste as new layer

26. Position by model

27. Adjust / Sharpness / Sharpen

28. Open your landscape misted tube

29. Copy and paste as new layer

30. Position Right, Top to Model

31. Open the tube (Deco)

32. Copy and paste as new layer

33. Position by model

33.1 Layers / Duplicate

33.2 Position by model

34. Open your tube character

35. Copy and paste as new layer

36. Position by model

37. Apply a Drop Shadow of your choice

38. Image / Add borders / 2 px / foreground color

39. Adjust / Brightness and Contrast / Brightness / Contrast  (Use of this effect depends on which tube you use)


40. Put your signature

41. merge All

42. Save: File / Export / Jpeg Optimizer


Thank you for doing my translations.


domingo, 21 de outubro de 2018

ELEGANCIA


Este tutorial foi criado por mim e qualquer semelhança com outros é mera coincidência. é proibido copiar, compartilhar, alterar os nomes do material. 
Por favor, coloque um link para este tutorial, bem como para os autores dos tubes usados.


Material aqui

Tubes:


Plugins aqui
Simple
Kohan Filters
AP [Lines] 
It@lian Editors Effects
Eye Candy 5: Impact
Mura's Meister
Graphic Plus


Cores


Clique aqui para ver suas versões

ROTEIRO:


1. Coloque a cor #ffd6b4 no foreground e a cor #7a4b38 no background

2. Prepare um gradiente linear: 

3. Abra uma imagem de 950x600px e pinte com esse gradiente

4. Effects - Plugins - Simple - Pizza slice Mirror

5. Layers - Duplicate

6. Image - Mirror

7. Layers - Properties - Opacidade: 60 (ou de acordo com as cores que usar)

8. Merge down

9. Effects - Edge Effects - Enhance

10. Layers - duplicate

11. Effects - Plugins - Kohan Filters - Autointerlace: 

12. Effects - distortion Effects - Twirl: 

13. Effects - image Effects - Seamless tiling: 

14. Layers - duplicate

15. Image - Resize 70% - Resize all layers desmarcado

16. Adjust - Sharpness - Sharpen

17. Drop shadow: 0/0/80/40

18. Ative a Selection Tool - Selection Type: Rectangle - Desenhe um retângulo de 100 a 200px conforme o print: 

19. Pinte com o gradiente

20. Selections - Promote selection to layer

21. Select none

22. Effects - Plugins - AP [Lines] - lines SilverLining: 

23. Drop Shadow: 0/0/80/30

24. Effects - Plugins - It@lian Editors Effects - Effetto Fantasma? 

25. Adjust - Sharpness - Sharpen More

26. Layers - Duplicate

27. Image - Mirror

28. Effects - distortion Effects - Wave 

29. Ative a layer Copy of Raster 1

30. Edit/Copy

31. Ativar a layer superior

32. Colar como nova layer

33. Image - Resize 5% - Resize all layers desmarcado

34. Adjust - sharpness - Sharpen More

35. Effects - Plugins - Eye Candy 5: Impact - Glass
Settings: preset Clear
Basic: 

36. Posicione conforme o print: 

37. Effects - Plugins - Mura's meister - Copies - Preset: Line 

38. Ative a layer Copy of Raster 1

39. Edit/copy

40. Ative a layer Copy (2) of Raster 2

41. Cole como nova layer

42. Effects - Plugins - Mura's Meister - perspective: 

43. Drop shadow: 0/0/80/40 - preto

44. Image - Add borders - symmetric marcado:

45. 1px - cor escura

46. 1px - cor clara

47. 1px - cor escura

48. 10px - cor clara

49. 1px - cor escura

50. 1px - cor clara

51. 1px - cor escura

52. Selections - Select all

53. Image - add borders - symmetric marcado - 50px - branco

54. Selections - invert

55. Pinte a seleção com o gradiente do início

56. Adjust - blur - Gaussian blur: 20px

57. Effects - Plugins - Graphic Plus - Quick Tile I - Default: 

58. Selections - invert

59. Drop shadow: 10/10/80/50

60. Repetir o Drop shadow com V e H negativos

61. Select None

62. Cole o tube personagem - redimensione se necessário e posicione como desejar

63. Cole o tube decorativo - redimensione se necessário e posicione como desejar

64. Aplique um Drop Shadow de sua escolha nos tubes:personagem e decorativo

65. Adicione uma nova layer

66. Coloque sua assinatura

67. Merge all (Flatten)

68. Salve como JPEG


Obrigada por fazer meus tutoriais.
Por favor, amnde sua versão para mim, para que eu possa colocar no blog:

Participe do meu grupo no Facebook:

Outra versão.
Tube Ana Ridzi e Azalée

 Thank you Daela

Obrigada Tetê Samuel

Obrigada Mara Lucia didonet

Obrigada Bea

Obrigada Vera Jarude