

EL RETRATO
by Bea
This tutorial has the permission of the author. Thank you Bea.
Original Tutorial here
PLUGINS - here
Flaming Pear - Mura's Meister - Toadies - Bordermania - Mehdi - AAA Frame
MATERIAL - here
Tube-Woman 084_BeaSol
tube-SvB Asie'n Stilife
cadre_jaune_texture
Mask-59-Bea
PALETA DE CORES

* Open the color palette on the PSP and capture the colors with the dropper tool
* Adjust blend mode and layer opacity according to your images
* Adjust blend mode and layer opacity according to your images
* If you have any difficulties performing this tutorial, please contact me: e-mail
* When doing one of the tutorials of my blog, I would appreciate it if you put a link to the tutorial.
* Send me your version and I will be happy to put it in my gallery
* Before you share this tutorial, read the author's terms
* Help me improve the quality of my translations and my blog: if you find any errors in the links, in the translations, in the blog, please let me know by the email above. Thankful.
ROTEIRO
1. Open a new image of 800x600px
2. Fill with a gradiente formed by colors #f4cab2 in Foreground and #b3060e in Background

3. New Raster Layer
Selections - Select all
Edit/Copy and Paste into selection the tube Woman-021=BeaSoll-tube
4. Select none
Change the layer's opacity to 50
5. Merge visible
6. Adjust - Blur - Gaussian Blur: 15
7. Plugin Flaming Pear - Swerve
Change chop mode as print


8. Paste as new layer the tube Woman-021-BeaSol-tube(still in memory)
9. Effects - image effects - offset

10. Merge visible
11. Layers - Duplicate
Take the visibility of the copy and work on the original
12. Plugin Toadies - Weaver

13. Layers - Duplicate
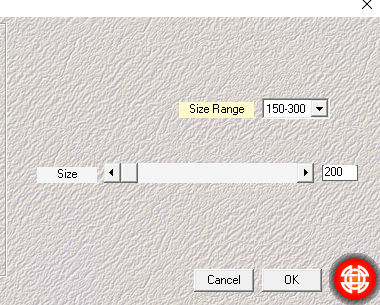
14. Plugin Mura's Meister - Perspective Tiling

15. Make the copy of step 11 visible and activate
16. Plugin Bordermania - Flat Solid - use color #f4ca62

17. Repeat the same filter, but with color#b3060e and the following configuration:

18. Image - Resize - 65% - All layers unchecked
19. Layers - Duplicate
Take the copy visibility and work on the original
20. Plugin Mehdi - Weaver
21. Drop Shadow: 2/2/65/2 - black
22. Repeat with V and H negatives
23. Change Blend Mode to multiply
24. Effects - User Defined filter - Emboss 3
25. Return copy visibility of the step 19 and activate
26. Layers - Duplçicate
27. Image - Resize 90% - All layers unhecked
28. Merge Down
29. So far, we have these layers:


30. New Raster Layer
Fill with the pattern: cadre_jaune_texture

31. New Raster layer
Apply mask Mask-59-Bea

32. Layers - Merge - Merge group
33. Drop Shadow: 2/2/80/2 - black
34. Effects - Image effects - Offset

35. Copy and Paste as new layer the tube divers-0008-lisat
36. Resize if necessary
Plas as model
37. Change Blend Mode for Luminance(L)
38. Merge visible
39. Plugin AAA Frame - Foto Frame

40. Add your signature
Save as JPEG
I hope you enjoyed.
Thank you for doing my translations
Thank you for doing my translations
Other model
 Tube: BeaSol

Obrigada Polyak

Nenhum comentário:
Postar um comentário
Observação: somente um membro deste blog pode postar um comentário.