Mostrando postagens com marcador Love and Peace. Mostrar todas as postagens

sábado, 18 de abril de 2020

Saturnella - Love and Peace - in english


This tutorial is from Saturnella and was translated with your permission


Tutorial: Love and peace - Original HERE
Credits:
Main tube: Cady
Misted John Lennon: Vera Mendes
Other materials: Saturnella
Material - HERE
Plugins:
Mehdi / Wavy Lab 1.1 / Sorting Tiles
FF Gallery J / Drink to me
Carolaine and Sensibility
Flaming Pear / Flexify 2
Eye candy 5: Impact / Perspective Shsdow/ Glass
Plugins - AQUI
My e-mail: AQUI
My Facebook Group: AQUI
Your Versions: AQUI


SCRIPT


(click on the prints for a better view)

01. put color 1 in the foreground and color 2 in the background

02. open the alpha file (alpha-love) / duplicate (shift + d) /
close the original / rename to raster 1

03. effects / plugins / mehdi / wavy lab 1.1


04. add new layer

05. selections / select all

06. copy the tube (sat-dechip01) and paste in the selection

07. select none

08. adjust / blur / radial blur


09. effects / edge effects / enhance

10. effects / image effects / seamless tiling


11. merge down

12. effects / plugins / mehdi / sorting tile


13. effects / reflection effects / rotating mirror


14. adjust / sharpness / sharpen / sharpen more

15. layers / duplicate

16. effects / plugins / unlimited 2 / ff gallery j / drink to me / default


17.selections / load selection from alpha channel / selection 1


18. selections / promote selection to layer

19. effects / plugins / carolaine and sensibility / cs-ldots


20. select none

21. layers / duplicate

22. image / mirror / mirror horizontal

23. merge down

24. drop shadow: 0 0 60 30 dark color

25. layers / duplicate

26. effects / plugins / flaming pear / flexify 2


27. layers / duplicate

28. image / free rotate / right 90


29. merge down

30. image / resize: 15% - all layers unchecked

31. layers / duplicate

32. image / free rotate / right 45


33. merge down

34. effects / eye candy 5: impact / glass /
preset (love-and-peace-glass)


35. drop shadow like the previous

36. copy the tube (sat-hip03) and paste it as a new layer

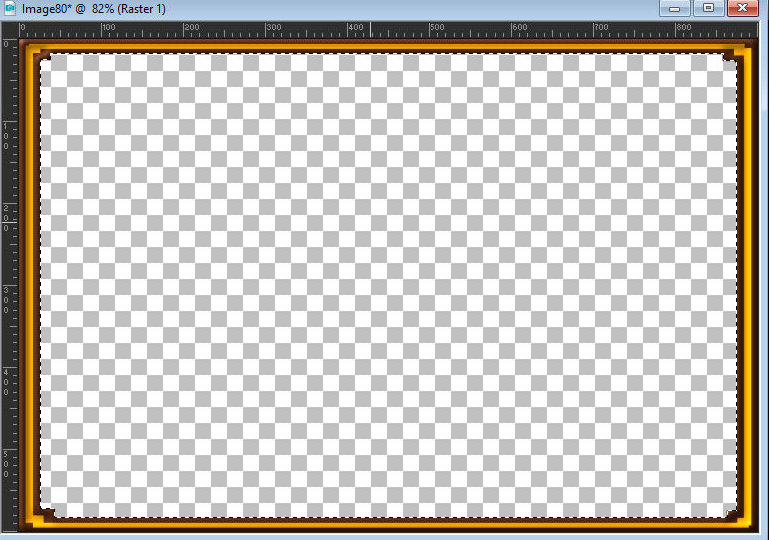
37. image / resize: 80% - all layers unchecked

38. position right according to the model

39. effects / plugins / eye candy 5: impact / perspective shadow /preset (love-and-peace-shadow)


40. copy jonh lennon's tube and paste it as a new layer

41. position left

42. layers / properties / blend mode: soft light


43. layers / duplicate

44. layers / properties / opacity: 65%

45. merge down

46. ​​activate the copy of raster 1 layer

47. add new layer

48. paint with color 2 (dark)

49. layers / new mask layer / from image / mask (008)


50. effects / edge effects / enhance

51. merge group

52. drop shadow: 0 0 60 30 light color

53. activate the top layer

54. copy the tube (text) and paste it as a new layer

55. position according to the model or to your taste

56. drop shadow: 02 10 20 4 black

57. merge visible

58. copy this layer (edit / copy) and reserve

59. open the tube (cadre)

60. select the transparent part with the magic wand

61. paste in the selection, the image copied above

62. select none

63. add new layer

64. place your signature

65. merge all

66. save / file / export / jpeg optimizer


Thank you for doing my translations

Saturnella - Love and Peace


Este tutorial é de Saturnella e foi traduzido com a sua permissão


Tutorial: Love and peace - Original AQUI
Créditos:
Tube principal: Cady
Misted John Lennon: Vera Mendes
Demais materiais: Saturnella
Material - AQUI
Plugins:
Mehdi / Wavy Lab 1.1 / Sorting Tiles
FF Gallery J / Drink to me
Carolaine and Sensibility
Flaming Pear / Flexify 2
Eye candy 5: Impact / Perspective Shsdow/ Glass
Plugins - AQUI
Meu e-mail: AQUI
Meu grupo no Facebook: AQUI
Suas versões: AQUI


ROTEIRO


(clique nos prints para visualizar melhor)

01. coloque a cor 1 no foreground e a cor 2 no background

02. abra o arquivo alpha (alpha-love) / duplique (shift+d) /
feche o original / renomeie para raster 1

03. effects / plugins / mehdi / wavy lab 1.1


04. adicione nova layer

05. selections / select all

06. copie o tube (sat-dechip01) e cole na seleção

07. select none

08. adjust / blur / radial blur


09. effects / edge effects / enhance

10. effects / image effects / seamless tiling


11. merge down

12. effects / plugins / mehdi / sorting tile


13. effects / reflection effects / rotating mirror


14. adjust / sharpness / sharpen / sharpen more

15. layers / duplicate

16. effects / plugins / ff gallery j / drink to me / default


17.selections / load selection from alpha channel / selection 1

18. selections / promote selection to layer

19. effects / plugins / carolaine and sensibility / cs-ldots


20. select none

21. layers / duplicate

22. image / mirror / mirror horizontal

23. merge down

24. drop shadow: 0 0 60 30 cor escura

25. layers / duplicate

26. effects / plugins / flaming pear / flexify 2


27. layers / duplicate

28. image / rotate free / right 90

29. merge down

30. image / resize: 15% - all layers desmarcado

31. layers / duplicate

32. image / rotate free / right 45

33. merge down

34. effects / eye candy 5: impact / glass/
preset (love-and-peace-glass)

35. drop shadow igual ao anterior

36. copie o tube (sat-hip03) e cole como nova layer

37. image / resize: 80% - all layers desmarcado

38. posicione à direita conforme o modelo

39. effects / plugins / eye candy 5: impact / perspective shadow /preset (love-and-peace-shadow)

40. copie o tube de jonh lennon e cole como nova layer

41. posicione à esquerda 

42. layers / properties / blend mode: soft light

43. layers / duplicate

44. layers / properties / opacity: 65%

45. merge down

46. ative a layer copy of raster 1

47. adicione nova layer

48. pinte com a cor 2 (escura)

49. layers / new mask layer / from image / mask (008)

50. effects / edge effects / enhance

51. merge group

52. drop shadow : 0 0 60 30 cor clara

53. ative a layer superior

54. copie o tube (texte) e cole como nova layer

55. posicione conforme o modelo ou a seu gosto

56. drop shadow: 02 10 20 4 preto

57. merge visible

58. copie esta layer (edit/copy) e reserve

59. abra o tube (cadre)

60. selecione a parte transparente com a magic wand

61. cole na seleção, a imagem copiada acima

62. select none

63. adicione nova layer

64. coloque sua assinatura

65. merge all

66. salve / file / export / jpeg optimizer


Obrigada por fazer minhas traduções