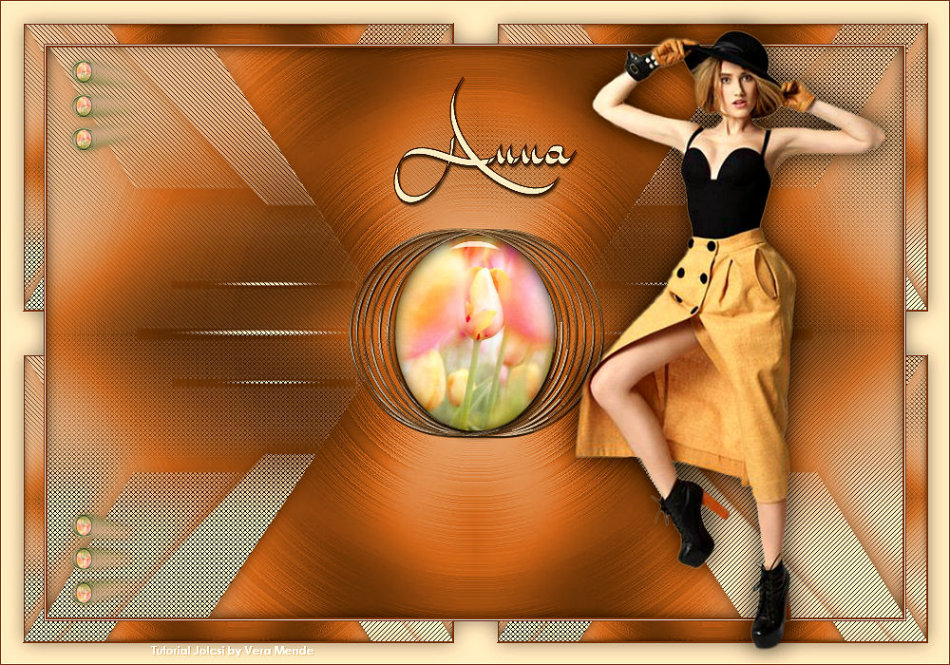
Este tutorial é de Jolcsi e foi traduzido com a sua permissão
| Tutorial: Anna - Original AQUI |
| Créditos: Malacka |
| Material - AQUI |
| Plugins: Xero / Soft Vignette Unlimited 2 VM Toolbox / Zoom Blur VM Natural / Weave Distortion Mura's Meister / Pole Transform / Copies Mura's Seamless / Tiling with Shrink Eye Candy 5: Impact / Glass BKG Designers sf10 I / Circus Maximus AP [Lines] / Line sSilverLining |
| Plugins - AQUI |
|
Meu e-mail: AQUI Meu grupo no Facebook: AQUI Suas versões: AQUI |
*Salve a seleção na pasta Selections do PSP
|
ROTEIRO
(clique nos prints para visualizar melhor)
01. coloque a cor #1 no foreground e a cor 2 no background
02. abra uma nova imagem transparente com 900x600px
08. image / mirror / mirror horizontal (mirror)
12. effects / edge effects / enhance
13. image / resize: 40% - all layers desmarcado
15. adicione nova layer
16. copie o tube (virág) e cole na seleção
18. select none
19. merge down
20. drop shadow: 2 1 51 1 preto
21. layers / duplicate
22. merge down
23. adicione nova layer
24. layers / arrange / send to botom
25. pinte com a cor escura
26. selections / select all
27. copie o tube (jolcsi581) e cole na seleção
28. select none
34. effects / reflection effects / rotating mirror
35. adjust / sharpness / sharpen
36. resultado:
37. Copie esta imagem ( Reserve)
Na sua imagem de trabalho:
38. abra a imagem (jolcsi alap)
39. selections / select all
40. cole na seleção a imagem copiada acima
40. Select None
42. ative a layer raster 1
44. adicione nova layer
45. pinte com a cor clara
47. layers / duplicate
48. merge group
50. selections / select all
51. selections / float / selections / defloat
52. selections / invert
53. adicione nova layer
55. layers / arrange / move down
56. select none
57. ative a layer raster 1
58. layers / arrange / bring to top
60. image / add borders / 2px / cor 1
61. image / add borders / 1px / cor 2
62. image / add borders / 1px / cor 1
63. selections / select all
64. image / add borders / 45px / cor 2
65. selections / invert
66. effects / plugins / mura's seamless / tiling with shrink / default
67. select none
69. selections / invert
70. drop shadow: 0 0 45 30 preto
71. select none
72. copie o tube (jolcsi581) e cole como nova layer
73. image / resize: 105% - all layers desmarcado
74. adjust / sharpness / sharpen
75. posicione como desejar e aplique um drop shadow de sua escolha
76. copie o tube (joldek) e cole como nova layer
77. posicione conforme o modelo
78. copie o tube (text) e cole como nova layer
80. drop shadow: 2 1 51 1 preto
81. layers / duplicate
82. ative a layer raster 4
85. adjust / sharpness / sharpen
86. image / add borders / 1px / cor 1
87. coloque sua assinatura
88. merge all
89. salve: file/export/jpeg optimizer
Obrigada por fazer minhas traduções


Nenhum comentário:
Postar um comentário
Observação: somente um membro deste blog pode postar um comentário.